



How to Teach Inquiry-Based Science to Kids: 8-Step Method
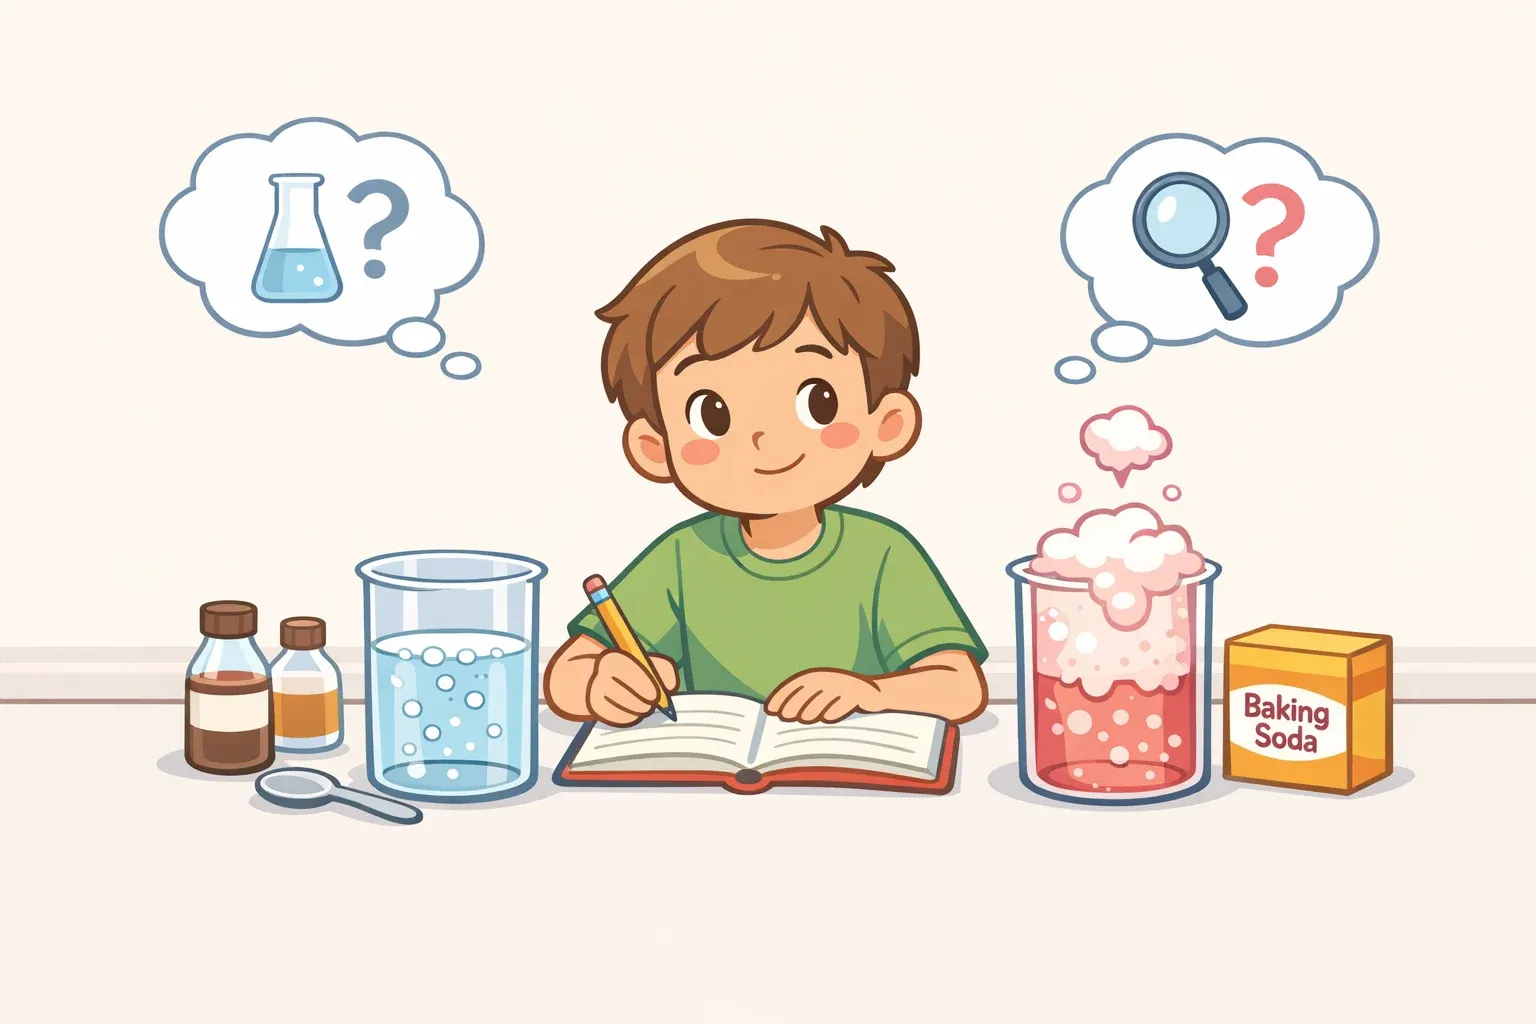
A child pours vinegar into baking soda, watches the foam spill over the cup, and shouts "cool!" Then walks away. The reaction is memorable, but without a question to answer and something to compare it against, it stays a one-time demonstration instead of an investigation.
Fixing that gap doesn't mean buying a kit or scripting a lesson. It means changing how you run the same experiment you were already going to do: help the child pick one thing to change, write down a guess before testing it, run a plain baseline first, then compare the two results side by side. That comparison, and the short conversation that follows it, is what turns a fun mess into inquiry-based science kids actually learn from. A 2025 synthesis of 26 peer-reviewed studies backs this up: real inquiry means kids practicing the actual work of science, asking a testable question, predicting an outcome, gathering evidence, and explaining results, rather than following steps toward an ending everyone already expects (Frontiers in Education, 2025). The same review found that guided inquiry, where an adult helps frame the question and prompts kids to compare their prediction against what happened, was consistently linked to stronger understanding than either scripted "recipe" activities or fully unguided exploration (Frontiers in Education, 2025). Most of that evidence comes from classrooms rather than home kitchens, so what follows is a practical adaptation, not a tested home protocol.
This guide walks through one repeatable eight-step method, the "why-first" method, plus a reusable lab sheet and language for common snags. It works with low-hazard materials most households already have.
What why-first science actually means
Inquiry-based science isn't a special category of experiment. It's running any low-hazard activity, a volcano, a plant cutting, a paper airplane, so the child asks a question, predicts an outcome, gathers evidence, and builds an explanation instead of following instructions to a result everyone already expects (Frontiers in Education, 2025).
This replaces two weaker habits: the "recipe lab," where kids follow steps to a known result and move on, and unstructured free play, where there's plenty of material and enthusiasm but little help connecting what happened to why. Classroom video studies cited in the synthesis found that hands-on activity alone varies widely in quality, and the step where kids compare what they expected to what they got is often handled loosely or skipped (Frontiers in Education, 2025).
Guidance matters more than freedom. When studies compared kids who got adult guidance during an activity against kids left to explore with little support, the guided groups came out ahead, and the pattern wasn't a straight line either: past a certain point, more unstructured freedom actually correlated with weaker results (Frontiers in Education, 2025). That's the core of guided inquiry science activities for kids: an adult stays close enough to keep attention on evidence, without pre-deciding the outcome or taking over.
The missing piece is usually a short, accurate explanation delivered at the right moment, not endless open-ended discovery with no landing point. The review frames strong inquiry as three phases: preparing the question, investigating with evidence, and comparing what was predicted with what was found (Frontiers in Education, 2025). The eight-step method below is built around exactly those three phases.
What you'll need before you start
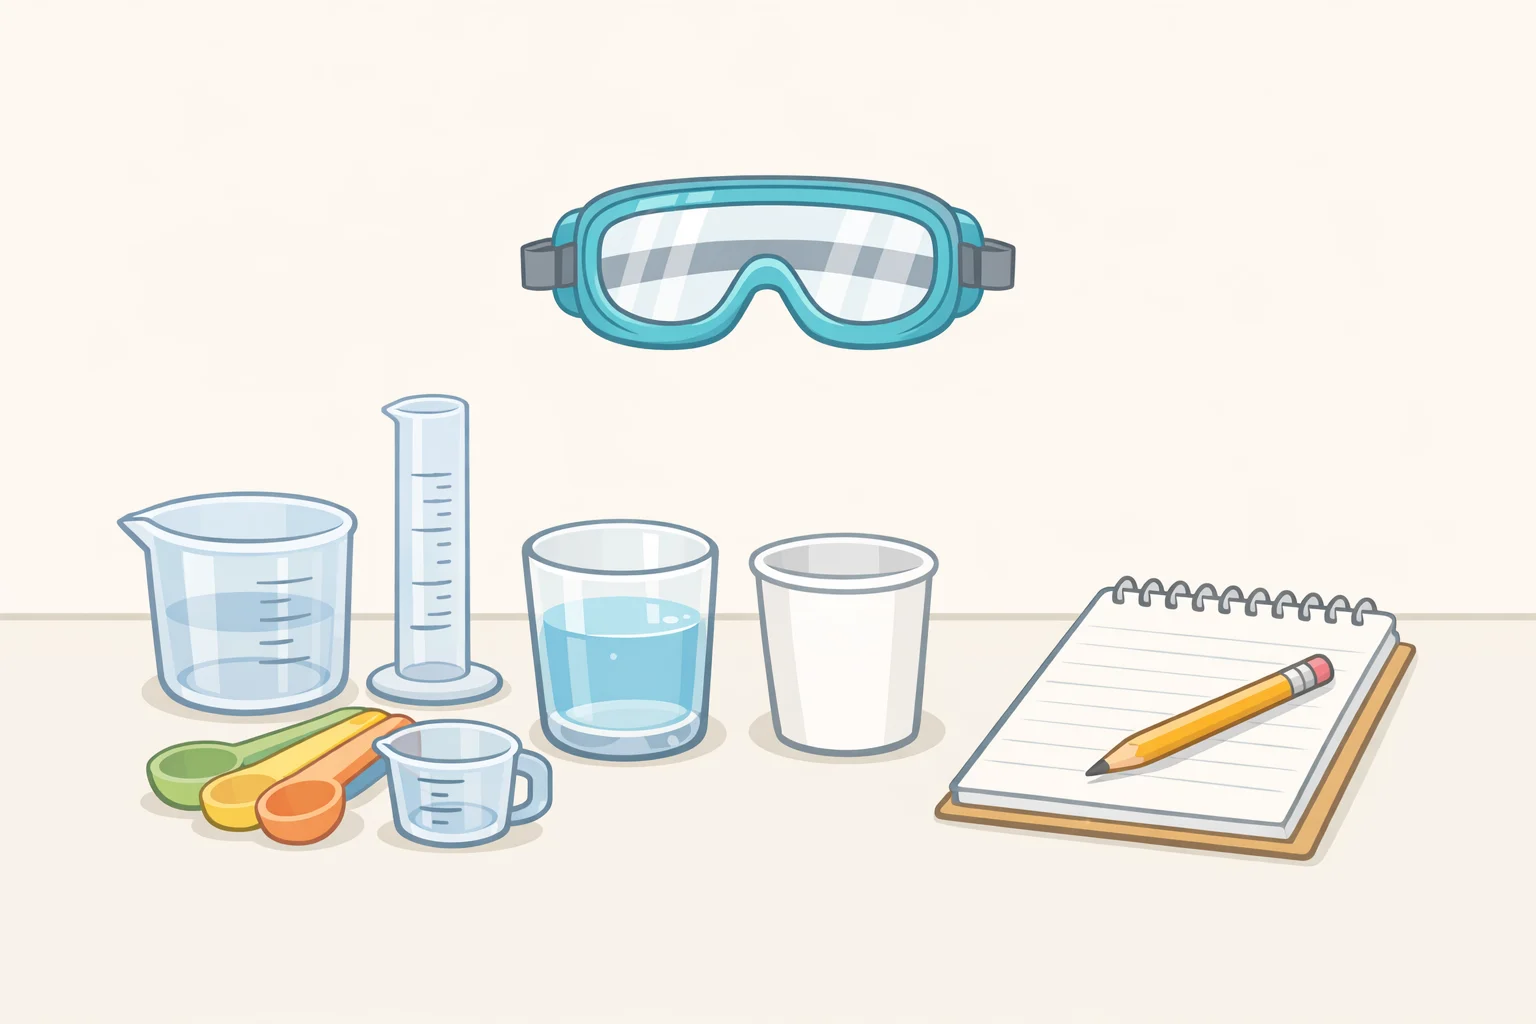
Gather whatever the experiment already calls for, baking soda, vinegar, water, ice, plants, plus something to record with: a notebook, a printed chart, or a phone camera. Keep materials to low-hazard, kitchen-cabinet items. This guide doesn't cover open flame, sharp cutting tools, mixed cleaning chemicals, or exposed wiring; those belong in a supervised class or with a professional.
Budget 20 to 40 minutes for a full cycle, shorter for younger kids. That's a practical planning estimate, not a research-backed number, so adjust it to the child in front of you.
Age changes how much structure a child needs, and this is a practical starting point rather than an evidence-based cutoff. Roughly ages 4 to 7 tend to do better with shorter cycles, more adult narration, and a choice between two pre-picked options instead of an open-ended question. Ages 8 and up can usually name their own variable, fill in a simple chart, and handle a repeat trial without losing the thread.
Set safety boundaries before anything starts. Stay within arm's reach the whole time. Don't taste any material used in an experiment, and don't mix household cleaners or chemicals together. Use eye protection for anything that splashes or fizzes hard. Research on school lab accidents ties overcrowding and thin supervision to more injuries (NSTA, 2022). That study is about classrooms with dozens of students, not a kitchen table, but the underlying logic scales down cleanly: one attentive adult watching one activity beats a distracted adult watching several.
Set the expectation before starting, too. The goal isn't a flawless experiment. It's a recorded prediction, a real result, and a short conversation about what the evidence does and doesn't show.
Set up the test: an example with baking soda and vinegar
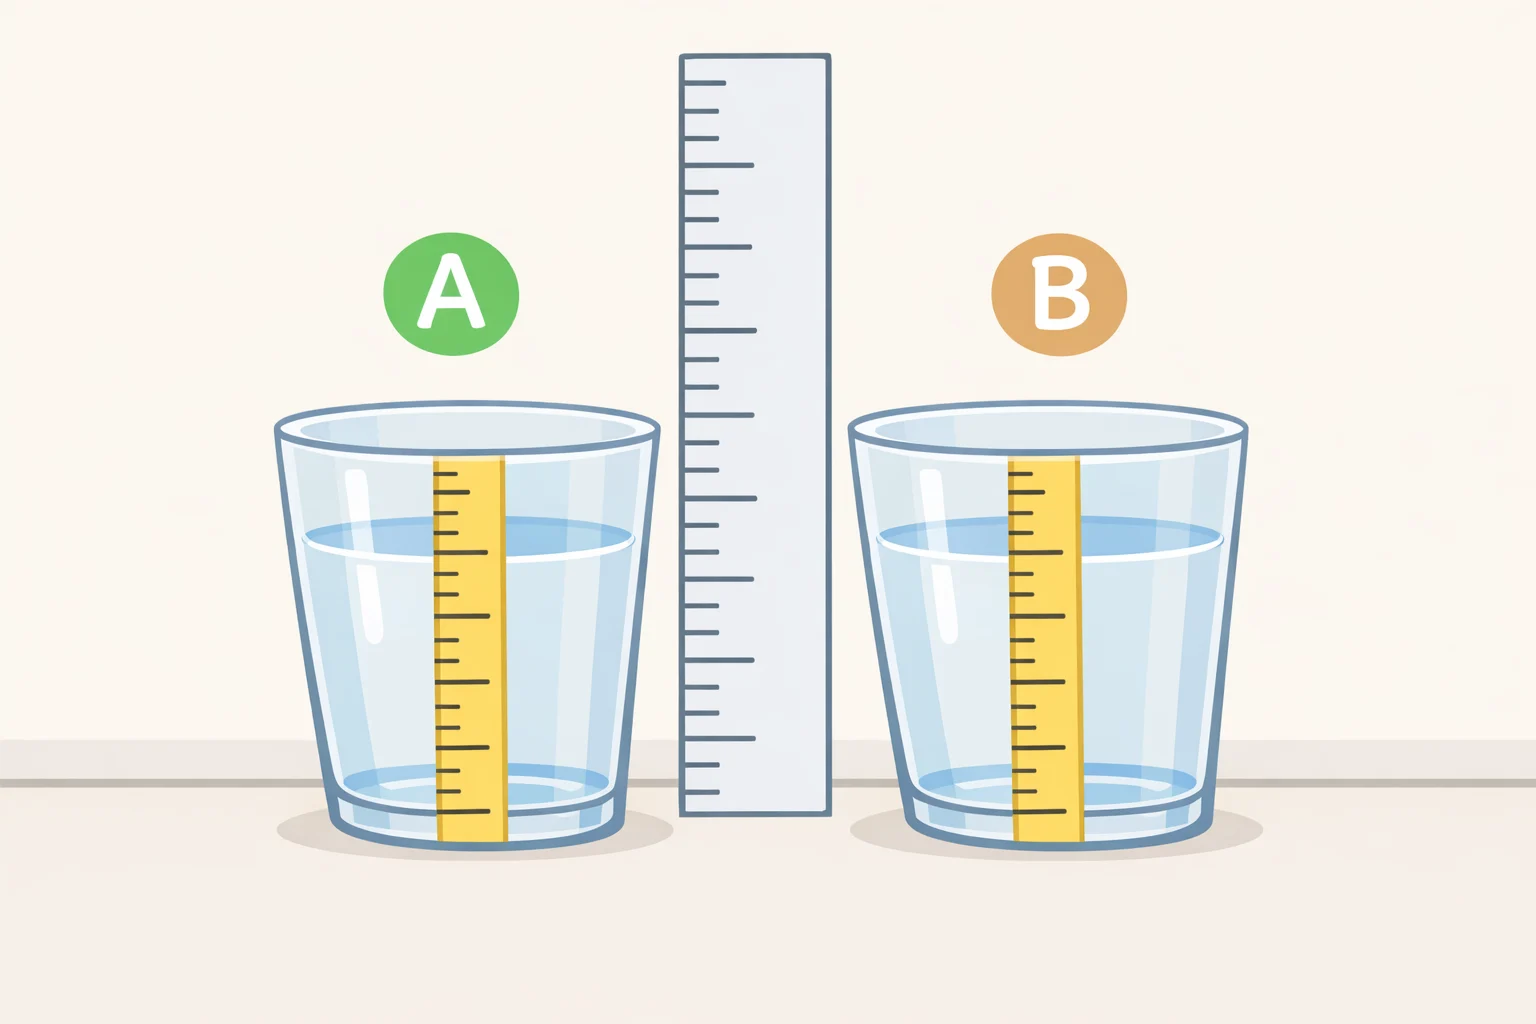
The example running through this guide is a baking soda and vinegar reaction, chosen because a taller foam column feels dramatic but is easy to measure wrong. Here's a setup that keeps the comparison fair.
- Two identical clear cups or glasses, same brand and size, with straight sides
- Baking soda and white vinegar
- Measuring spoons
- A strip of masking tape run vertically up the outside of each cup, marked in half-inch or centimeter increments with a pen
- A tray or baking sheet underneath to catch overflow
- The lab sheet or a notebook for recording results
Using identical cups matters more than it sounds like it should. A taller or narrower container changes how high foam appears to rise without changing the actual reaction, so if the two test cups aren't the same shape, the comparison means nothing. Cleanup is simple: baking soda and vinegar residue rinses away with plain water, no special disposal needed.
How to teach inquiry-based science to kids: the 8-step why-first method
-
Notice the phenomenon. Let the child watch something happen before naming it. Put 1 tablespoon of baking soda in the first cup, pour in 2 tablespoons of vinegar, and let the foam rise without explaining anything yet. Success looks like the child describing what they see in their own words.
-
Turn the curiosity into a testable question. Ask, "What's one thing we could change to see if it changes what happens?" For this example: "Does more vinegar make the foam rise higher?" That's the move at the heart of building science questions and investigations for kids, turning a vague "what happens if" into something with a clear answer. Ages 4 to 7 tend to do better choosing between two pre-picked options, like "more vinegar or colder vinegar?" Ages 8 and up can usually name the variable themselves.
-
Predict, and write it down. Ask, "What do you think will happen, and why?" Get the prediction on paper before testing. That's what makes step 6 mean anything later.
-
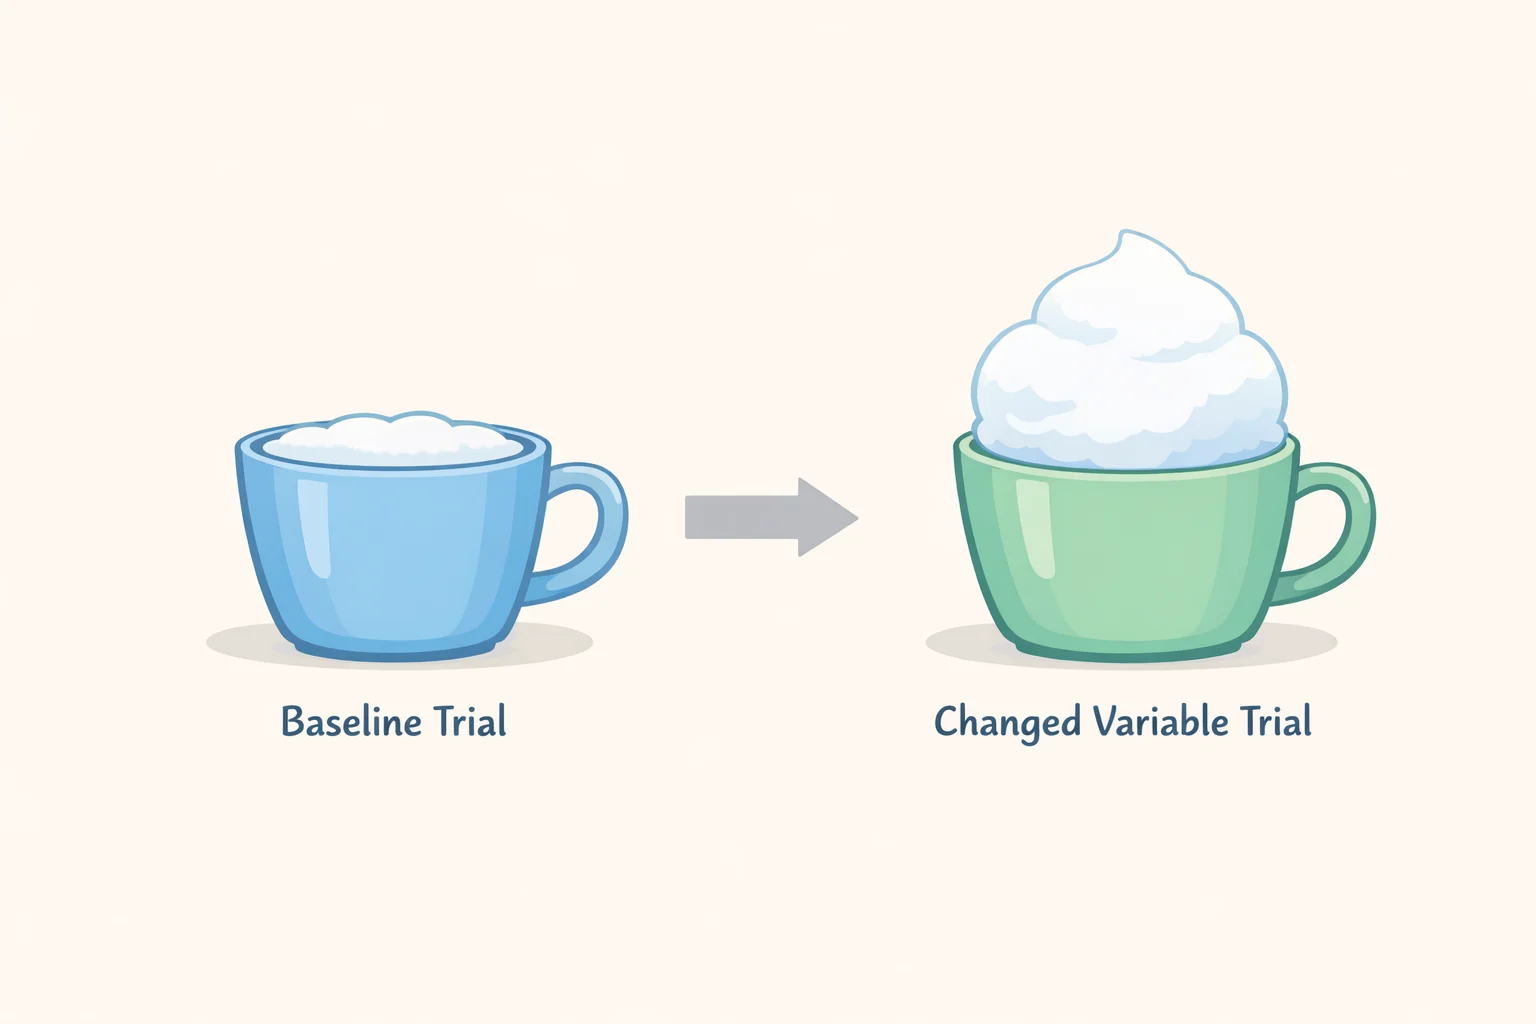
Set a baseline, and repeat it. Run the 1 tablespoon baking soda plus 2 tablespoons vinegar version in cup A, mark the peak foam height on the taped ruler, then rinse and run it again to check the height is roughly consistent. If the two baseline runs land far apart, the setup isn't controlled yet, maybe the cups aren't quite identical or the pour speed varied, and it's worth fixing that before moving to the changed test.
-
Change one variable and test again. In cup B, use the same 1 tablespoon of baking soda but double the vinegar to 4 tablespoons. Mark the peak height, then repeat the run once more. The mistake to avoid is changing two things at once, more vinegar and colder vinegar together, since the child won't be able to tell which change caused any difference.
-
Record and compare to the prediction. Line up the two taped rulers, or the photos of them, side by side. Comparing the marked heights against the written prediction is the step classroom studies flag as easy to rush or skip, even though it's tied to stronger understanding of what the evidence actually shows (Frontiers in Education, 2025). Check before moving on: can the child point to a specific number of tape marks separating the two results?
-
Ask for the child's explanation first, then add a short, accurate one. Ask, "What did you notice that supports your idea?" before saying anything. Then explain the real reason in plain language, with the honest caveat built in: if the baseline mixture didn't have enough vinegar to react with all the baking soda, adding more vinegar can produce more carbon dioxide and a taller foam column. But if the baking soda in the baseline test already reacted completely, the extra vinegar in test two has nothing left to react with, and the foam might not get any taller at all. That's exactly what the second test was built to find out, not something to assume in advance. Activities where kids have to back up their ideas with evidence are linked to stronger scientific understanding in the research, and pairing the child's own reasoning with a short adult explanation can help connect what they saw to the accurate account, though the review doesn't claim this prevents every misconception (Frontiers in Education, 2025).
-
Decide what to test next. End with, "What should we try differently next time?" Doubling the baking soda instead of the vinegar, using colder vinegar, or trying a third cup with an in-between amount all work. This keeps the investigation open instead of closing it with one "final" answer.
Your reusable why-first lab sheet
This short template works for any low-hazard activity. Say it aloud for younger kids, or have older kids fill it in themselves. It's really just teaching kids the scientific method through inquiry, condensed into six lines they can reuse for every experiment.
- My question:
- My prediction:
- What we changed:
- What happened (baseline vs. changed):
- What I think the evidence shows:
- What to test next:
What to say when the experiment goes off-script
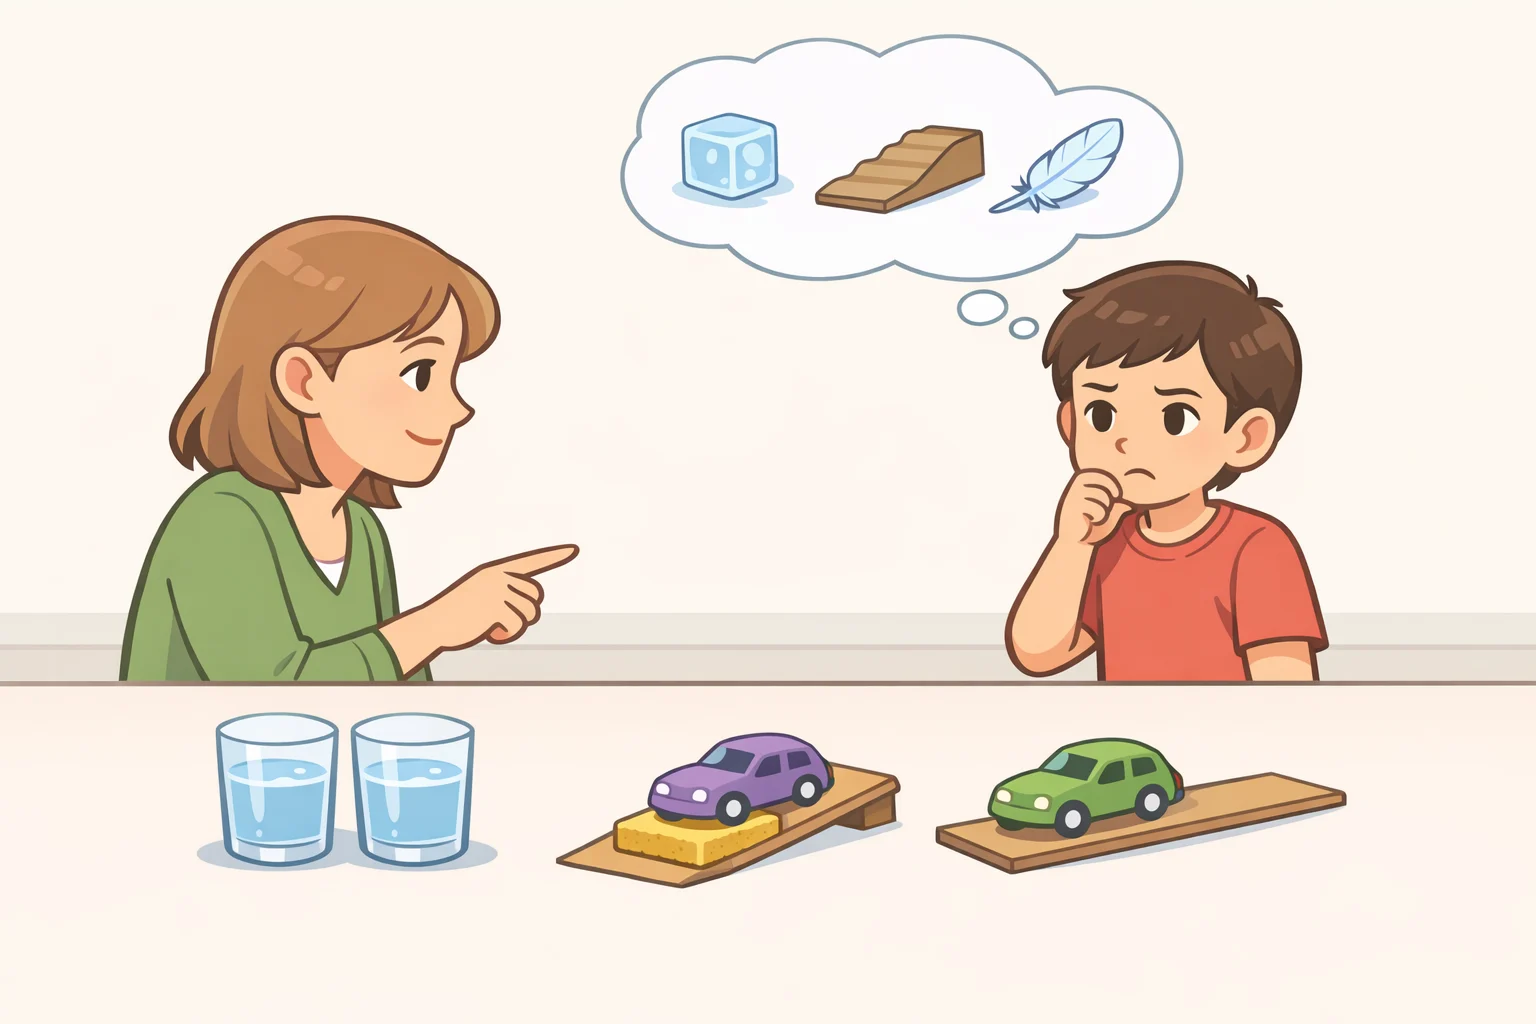
Child gives an off-target answer. Don't correct it right away. Ask, "What did you see that made you think that?" first, then add the short explanation from step 7 if the gap between their idea and the evidence still matters.
Child loses interest mid-test. Shorten the cycle. Skip straight to "what happened" and "what's different," and save the full explanation for next time.
Child changes more than one variable at once. Pause and ask, "If it comes out different, how will we know which change did it?" Reset to one variable before continuing.
Child asks you, or an app, for the answer directly. Answer with a question first: "What do you think, based on what we just saw?" If a chatbot or app is in the mix, know what the research actually tested. One study found a purpose-built AI tool, designed around a predict-observe-explain-experiment sequence, outperformed a plain chatbot at pushing kids toward higher-order thinking instead of just handing over answers (Frontiers in Education, 2025). That's not the same as general-purpose AI use at home. Treat a quick answer from any app as a last resort, not the default.
Working with a child who doesn't want to write. Let them respond by talking, drawing, or pointing at the chart instead. Structured, evidence-based activities have been shown to widen participation for students with disabilities when paired with accessible ways to respond, so treat talking or drawing as a practical accommodation rather than a compromise (Frontiers in Education, 2025).
Running this with a small group instead of one child. Have each child predict individually before comparing answers out loud. That mirrors the public comparison of claims that the research ties to stronger results in guided inquiry (Frontiers in Education, 2025).
What success looks like and where to go next
Success doesn't require a perfect explanation. It looks like the child pointing to their written or spoken prediction, describing what actually happened on the taped ruler, and saying what the evidence changed or confirmed about their idea, even if the reasoning isn't scientifically airtight yet.
Keep the lab sheets from each session instead of tossing them. Multi-week classroom lessons build understanding piece by piece across activities that all point back to one question (NSTA, 2022); a folder of home lab sheets does the same thing on a smaller scale, letting a child notice patterns across labs run weeks apart.
For the next session, print or copy the lab sheet, pick one low-hazard phenomenon already sitting in the kitchen or yard, and run only two things: a baseline and one changed trial. Skip the extra variables and the fancy explanation until that basic comparison feels automatic. Stay with kitchen-cabinet materials and active supervision the whole time, and the moment an idea calls for open flame, sharp tools, mixed chemicals, or exposed wiring, treat that as the signal to find a safer substitute or a supervised class instead of adapting it further alone.
Comments
Be the first, drop a comment!